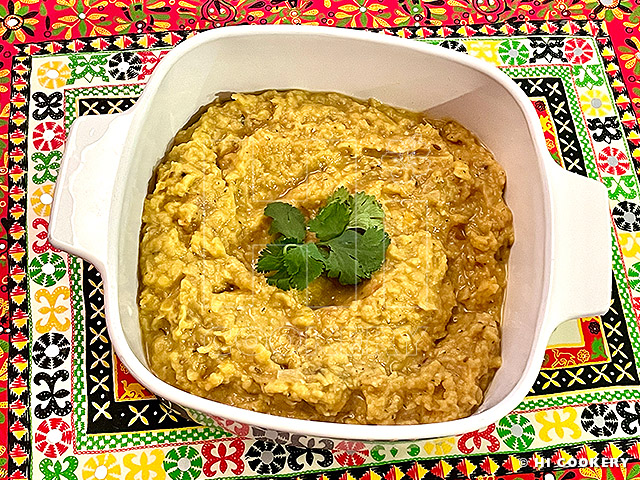
Honduras Chicken Curry
(Pollo al Curry de Honduras)

January 12: National Curried Chicken Day
We love all kinds of chicken curries and were pleasantly surprised that Honduras, a country in Central America, had its own version. India, where curry—mixed spices—originated, is so far away geographically. But when the Caribbean area was also known as West Indies, curry made its way to nearby Honduras.
We mixed our own spices to marinate the chicken pieces and stewed them in coconut milk infused with ginger and basil. This recipe is easy and flavorful with pantry staples and the basil plant that Highlander is now growing in his little garden. The warm spices in this chicken curry are great for cold winter weather in the Northern Hemisphere and especially on National Curried Chicken Day.
Recipe
(Adapted from Qué Tal Café)
Ingredients
- 2-3 chicken breasts, boneless and skinless
- ½ teaspoon ground caradmom
- ½ teaspooon ground cinnamon
- ½ teaspoon ground cloves
- ½ teaspoon ground coriander
- ½ teaspoon ground cumin
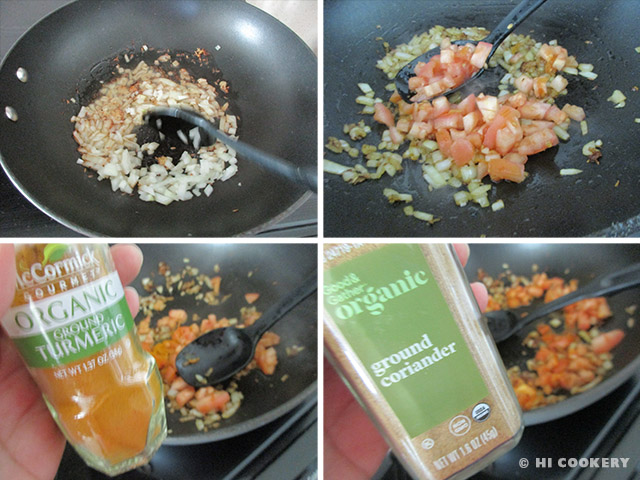
- ¼ teaspoon turmeric
- ¼ teaspoon chili powder
- Salt and pepper to taste
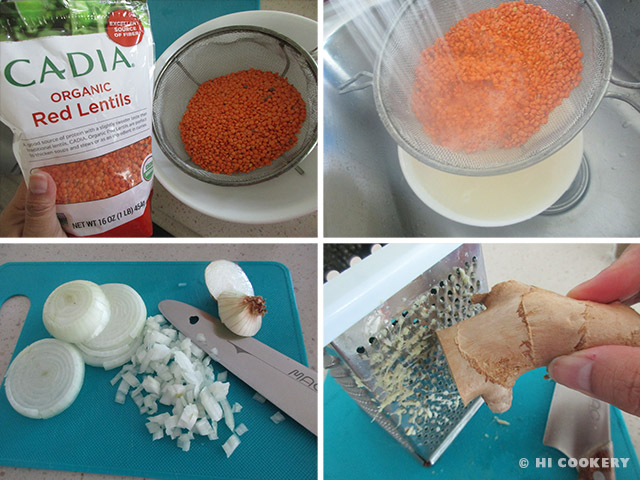
- 1 inch grated ginger
- 1 large onion, diced
- 1 jalapeño pepper, de-seeded and minced
- 5 cloves garlic, minced
- 1 tablespoon oil
- 1 can unsweetened coconut milk
- 2 teaspoons cornstarch
- 3 tablespoons fresh basil, chopped (additional leaves for optional garnish)
Directions
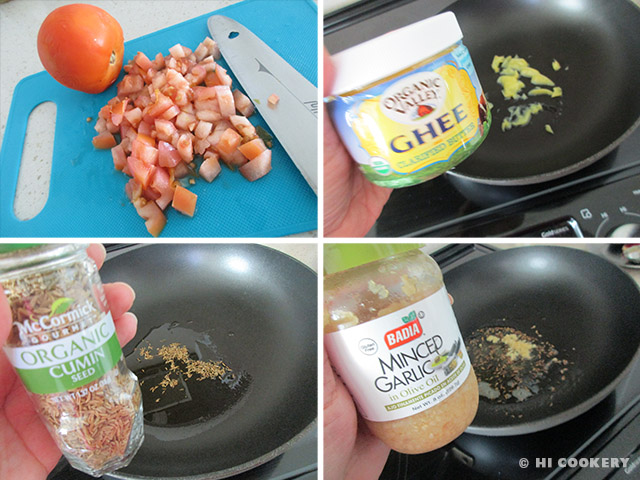
In a small bowl, combine the spices: cardamom, coriander, cumin, turmeric, chili powder, salt and pepper. Mix with the chicken pieces. Cover and marinate for at least two hours. Meanwhile, grate the ginger, dice the onions and mince the jalapeño and garlic cloves. Set aside.

When ready to cook the chicken, heat a skillet on medium high and saute the onions, jalapeño and garlic in oil for 3-5 minutes or until onions are softened. Stir in the chicken and cook until no longer pink on the outside. Lower heat. In a measuring cup, mix together the coconut milk with cornstarch.

Slowly pour the coconut milk mixture over the chicken. Add the ginger and chopped basil. Mix well. Cover and simmer for 5-10 minutes until the chicken is cooked through. Serve hot in a bowl and garnish with basil leaves.

Notes
- Qué Tal Café in Honduras has since closed. The link to their recipe and online cookbook is no longer available.
- Muchas gracias (thank you very much) to Lisa L. for the little wooden painting in the final food photo above. She was serving in Honduras for a U.S. Navy Expeditionary Medical Unit mission and got a unique souvenir for us.
- Search our blog for more curried chicken and chicken curry recipes.