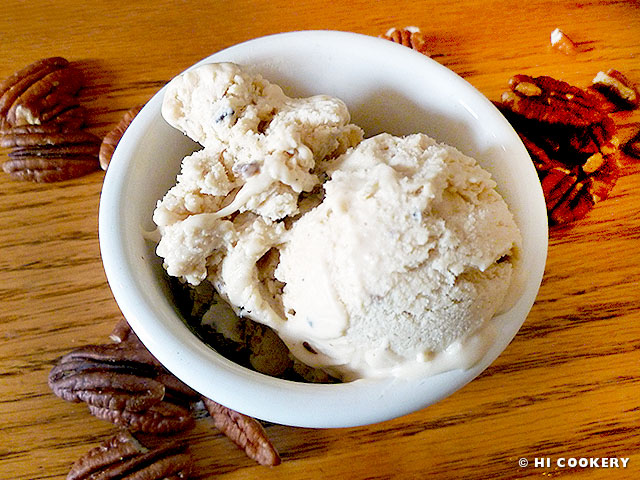
Butter Tart Squares

Butter Tart Squares

July 1: Canada Day

Visiting some of Highlander’s relatives in Canada is always a treat—literally—especially when they serve treats from his country of birth. They want to remind him of his roots and share cultural cuisine with us since we are foodies. One distinctive dessert from Canada is butter tarts, a pastry invented in the pioneer era. We transformed the traditional tarts into squares for a sweet stacked snack to celebrate Canada Day.

Recipe

(Adapted from Robin Hood)

For the base crust

  • ½ cup (1 stick) butter, softened
  • ¼ cup brown sugar
  • 1 cup flour

Directions

Line an 8×8-inch square baking pan with parchment or waxed paper, leaving a little overhang as the “handles” to lift the dessert out of the pan later. In a large mixing bowl, cream the butter with the brown sugar. Mix in the flour until it sticks together.

Butter Tarts Squares

Press into prepared pan. Bake in a preheated oven at 350 degrees F for 15-20 minutes. Remove from the oven and cool completely. Make the topping.

Butter Tart Squares

For the topping

  • ¼ cup (½ stick) butter, softened
  • ¾ cup brown sugar
  • ½ cup corn syrup
  • 2 eggs
  • 1 teaspoon vanilla
  • 2 tablespoons flour
  • ½ teaspoon baking powder
  • ½ cup raisins
  • ½ cup walnuts, chopped

Directions

In a large mixing bowl, cream the butter with the brown sugar. Mix in the corn syrup, eggs and vanilla.

Butter Tart Squares

Blend in the flour and baking powder. Sprinkle the raisins and chopped walnuts over the base crust. 

Butter Tart Squares

Pour the filling over the raisins and nuts. Bake in a preheated oven at 350 degrees F for 25 minutes or until the filling is set. Remove from the oven and cool completely. Lift the dessert out of the pan using the parchment or waxed paper “handles”. Cut into 16 squares.

Butter Tart Squares

Notes

  • The raisins and walnuts are optional but we added them to the recipe. The raisins add a nice chewy texture and the walnuts counter the sweetness of this dessert.

No-Churn Butter Pecan Ice Cream

Butter Pecan Ice Cream

July: National Ice Cream Month

Have you ever taken one of those personality quizzes based on your favorite flavor of ice cream? One such test, an “ice cream flavorology study”, was developed by Dr. Alan R. Hirsch, the neurological director of the Smell and Taste Treatment and Research Foundation, Ltd., in Chicago, Illinois. National manufacturer Edy’s Grand Ice Cream commissioned him to determine how ice cream flavor preferences relate to people’s personalities.

Islander’s favorite flavor is butter pecan and Highlander likes chocolate (see our blog post recipe for no-churn chocolate ice cream). We read Dr. Hirsch’s amusing analysis of our personalities based on the ice cream flavors we chose and, while they do fit us, we do not feel bound to those descriptions, as we enjoy eating other flavors of ice cream, depending on our moods.

During National Ice Cream Month, have some fun and take the personality test. And while you’re at it, enjoy eating some homemade no-churn butter pecan (or other favorite flavor) ice cream from the recipe provided below. Stay cool!

Recipe

(Adapted from Noreen’s Kitchen)

Ingredients

  • 1 cups pecans (chips, pieces or half nuts), toasted
  • 2 cups heavy cream, whipped
  • 1 can (14 ounces) sweetened condensed milk
  • 4 tablespoon butter, melted
  • 2 tablespoons pure maple syrup
  • 1 teaspoon maple extract
  • 1 teaspoon vanilla extract
  • 1 teaspoon butter extract
  • ½ teaspoon salt

Directions

In a small pan, toast the pecans, being careful not to burn them. Let cool and set aside. Whip the cream until stiff peaks form. In a large bowl, pour the condensed milk.

Butter Pecan Ice Cream

Stir in the melted butter, maple syrup and extracts.

Butter Pecan Ice Cream

Add the salt. Fold in the whipped cream and toasted pecans and blend well. Pour mixture into a large loaf pan, cover with plastic wrap and freeze overnight. Remove from the freezer, scoop and enjoy!

Butter Pecan Ice Cream

Notes

  • National Ice Cream Day is also celebrated on the third Sunday of July.
  • Search our blog for other no-churn ice cream recipes.

No-Churn Chocolate Ice Cream

Chocolate Ice Cream

June 7: National Chocolate Ice Cream Day

Earlier this spring, we took a road trip to Brenham, Texas (about an hour-and-a-half’s drive northwest from where we currently live), with our Hawaii ex-patriate friends Pat and Phyllis S. from San Antonio. We wanted to see blue bonnets and the Blue Bell Creameries. We did see a few of the wildflower fields but, unfortunately, the ice cream factory tour was cancelled due to listeria. News crews were in front of the creamery ready to report about the recalls. 

Lately we have been experimenting with making ice cream at home. At least we know what ingredients are going into our recipe—no listeria hysteria! We do not have an ice cream maker and do not want to buy one. But the no-churn method of making ice cream seems to work just fine!

For a no-churn chocolate ice cream, we tried mixing cocoa powder and melted chocolate in the basic recipe. The colors varied from pale cocoa to muddy brown, depending on what was added. The tastes ranged from milk chocolate to intensely dark. The textures went from icy-chunky to smooth and creamy. All versions were delicious!

As the hot summer season approaches, stay cool and safe from listeria by trying a homemade no-churn chocolate ice cream recipe for National Chocolate Ice Cream Day.

Recipe

(Adapted from Nigella.com)

 Ingredients

  • 1 pint heavy whipping cream, whipped
  • 1 can (14 ounces) sweetened condensed milk
  • 3-4 tablespoons cocoa powder OR 3-4 ounces melted semi-sweet/bittersweet/unsweetened chocolate (we used Baker’s brand)
  • pinch of salt (optional)
  • 1 teaspoon vanilla extract OR ½ tablespoon of crème de cacao liqueur (optional)
  • chocolate syrup to drizzle on top (optional)

Directions

Whip the whipping cream until stiff peaks form. Set aside. In a large bowl, combine the condensed milk with the cocoa powder OR melted chocolate. Stir well. Add a pinch of salt (optional). Mix in the vanilla extract or liqueur (optional).

Chocolate Ice Cream

Fold the whipped cream into this mixture until smooth, being careful not to whip more air into it. Place in a loaf pan. Cover with plastic wrap and freeze for at least six hours or overnight. Remove from the freezer. Let stand for a few minutes and scoop into cones or dessert dishes. Drizzle with chocolate syrup (optional).

Chocolate Ice Cream

Notes

  • If using melted chocolate, let cool slighty before mixing with the condensed milk and whipped cream.
  • National Ice Cream Day is also celebrated on the third Sunday of July.
  • Search our blog for other no-churn ice cream and chocolate recipes.